Here is a collection of screenshots taken directly from our android devices.
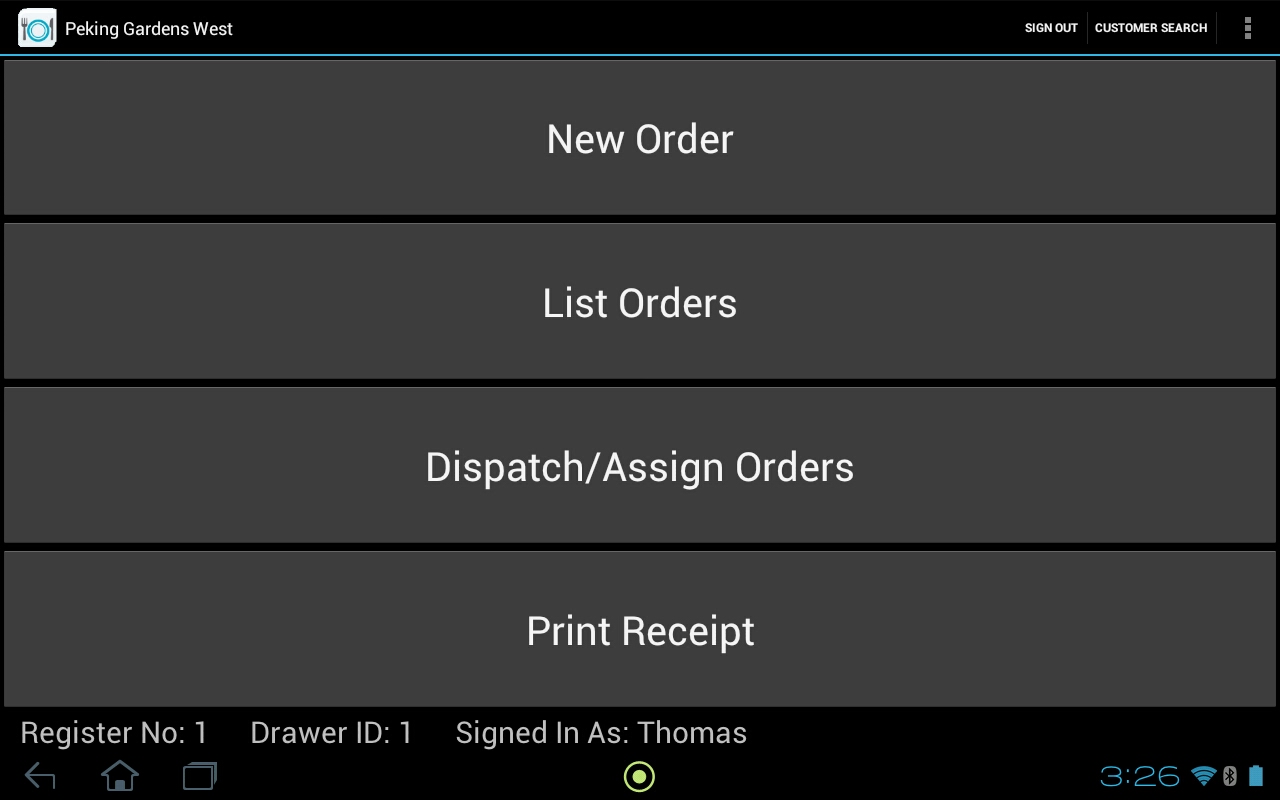
Main Menu (Restaurant Mode)We decided on a very simple menu system of 4 buttons (or less depending on settings and point of sale mode.)
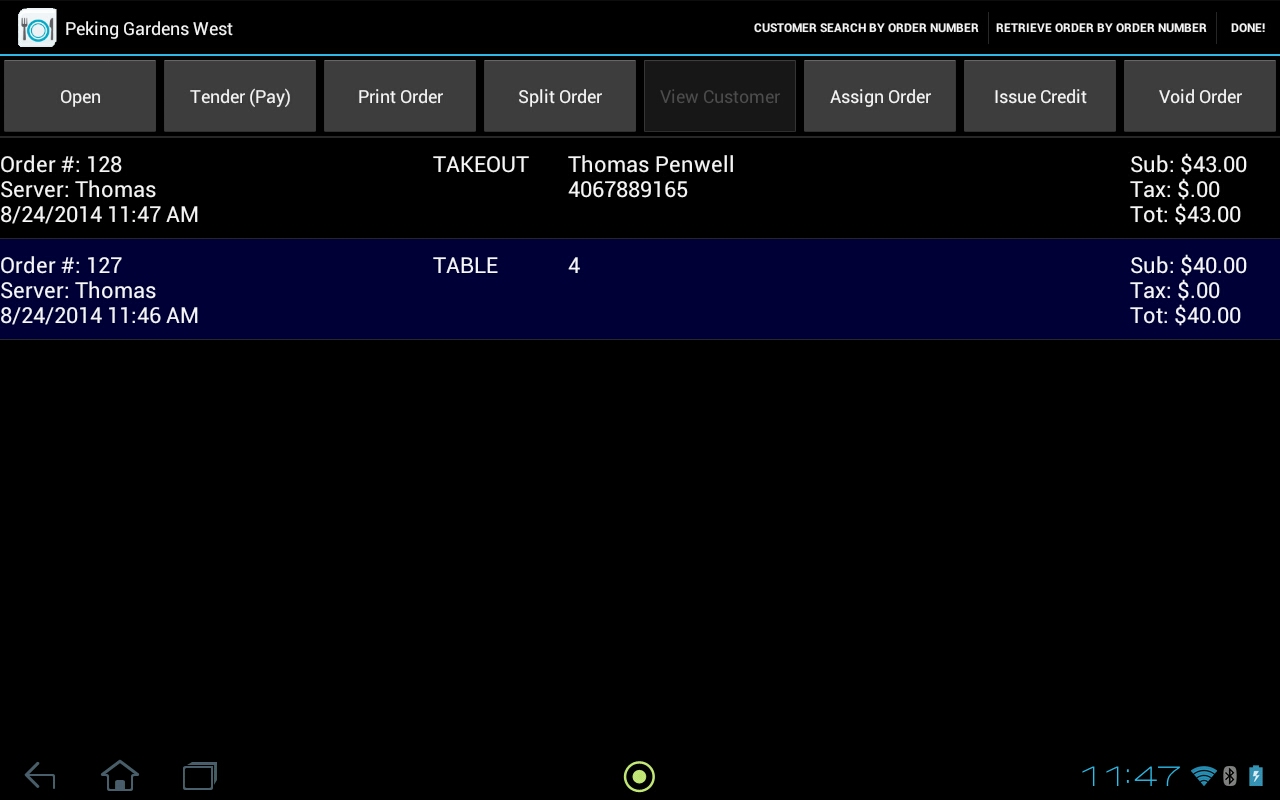
Order List PageTouch on an order line, then click the option up top of what you want to do.
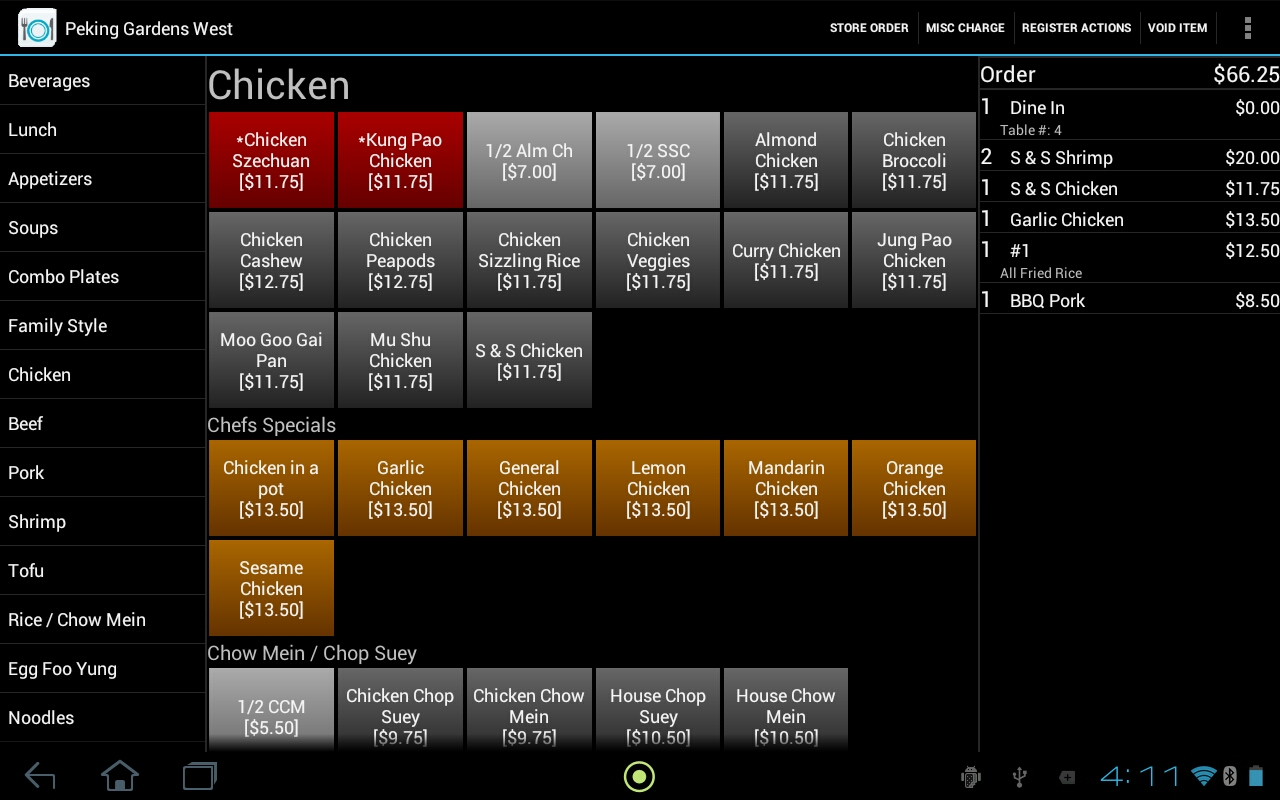
Order ScreenThe order screen is broken up into 3 sections, all of which are scrollable.
Single Select OptionsChoose 1 Option from each group.
Ingredient OptionsChoose Ingredient Options. Defaults to the ingredients already in the item.
Kitchen Video ScreenSimply tap the panel of the order you wish to clear.
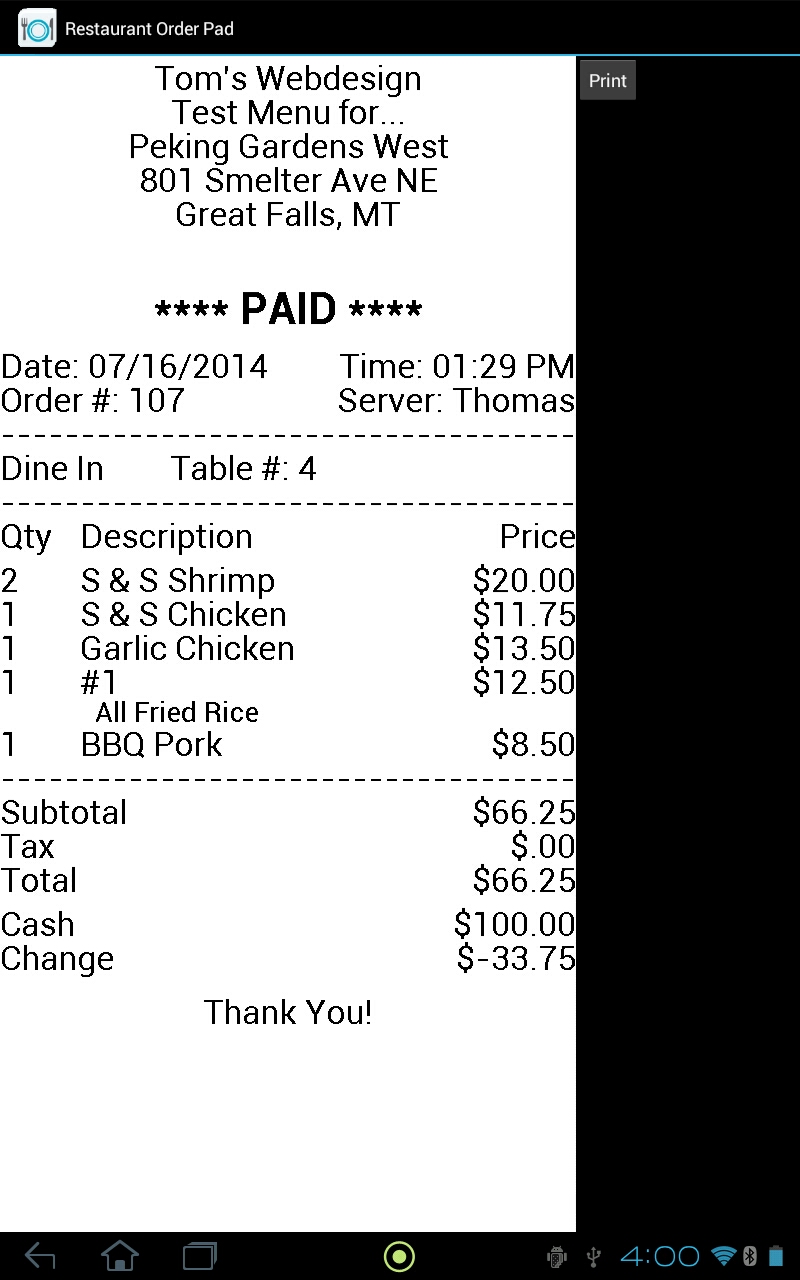
Receipt PreviewWe took this screenshot in portrait orientation to show the entire receipt. This shows exactly how a receipt would print to the receipt printer!
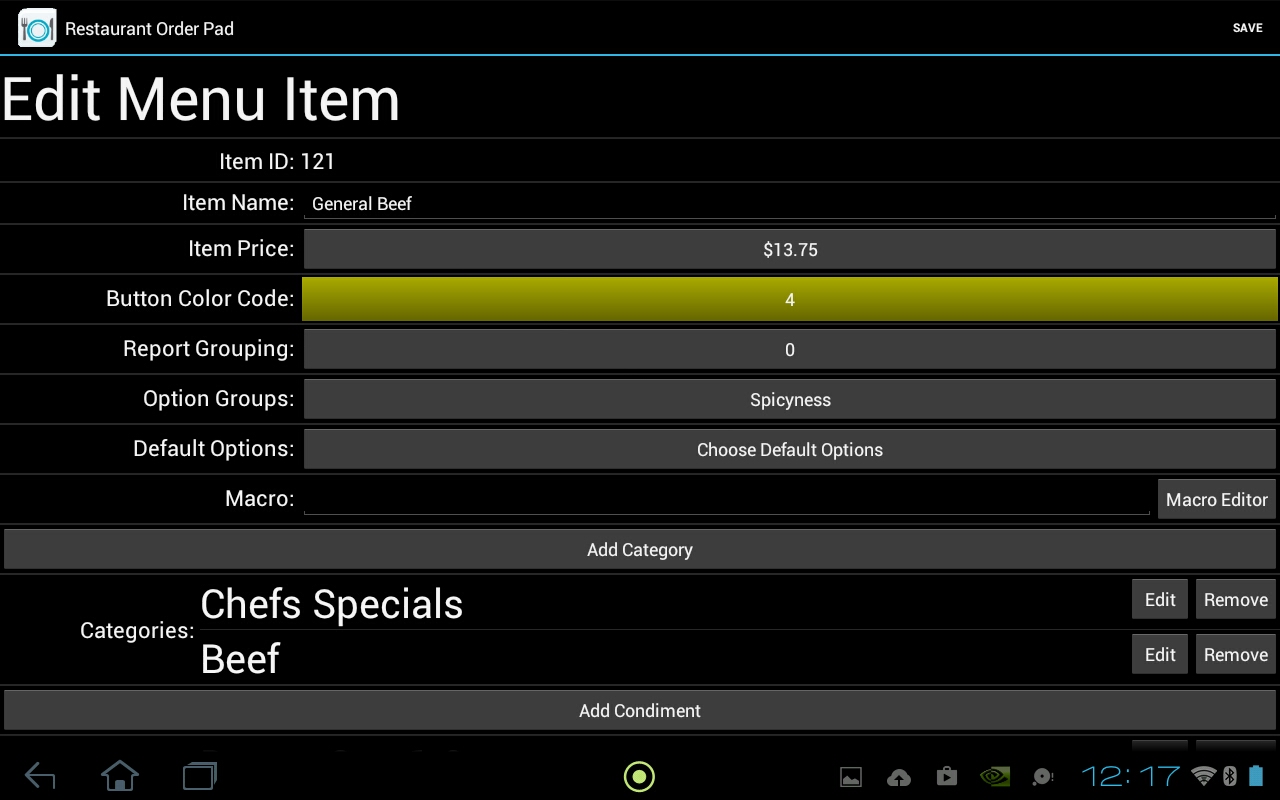
Menu EditorEach menu item can be set to the "root" category (very top) or assigned a sub-category. The buttons appear in alphabetical order first by sub-category, then by button name.
Menu Item EditorThe "Add Category" button allows for a single button to be placed on multiple pages.
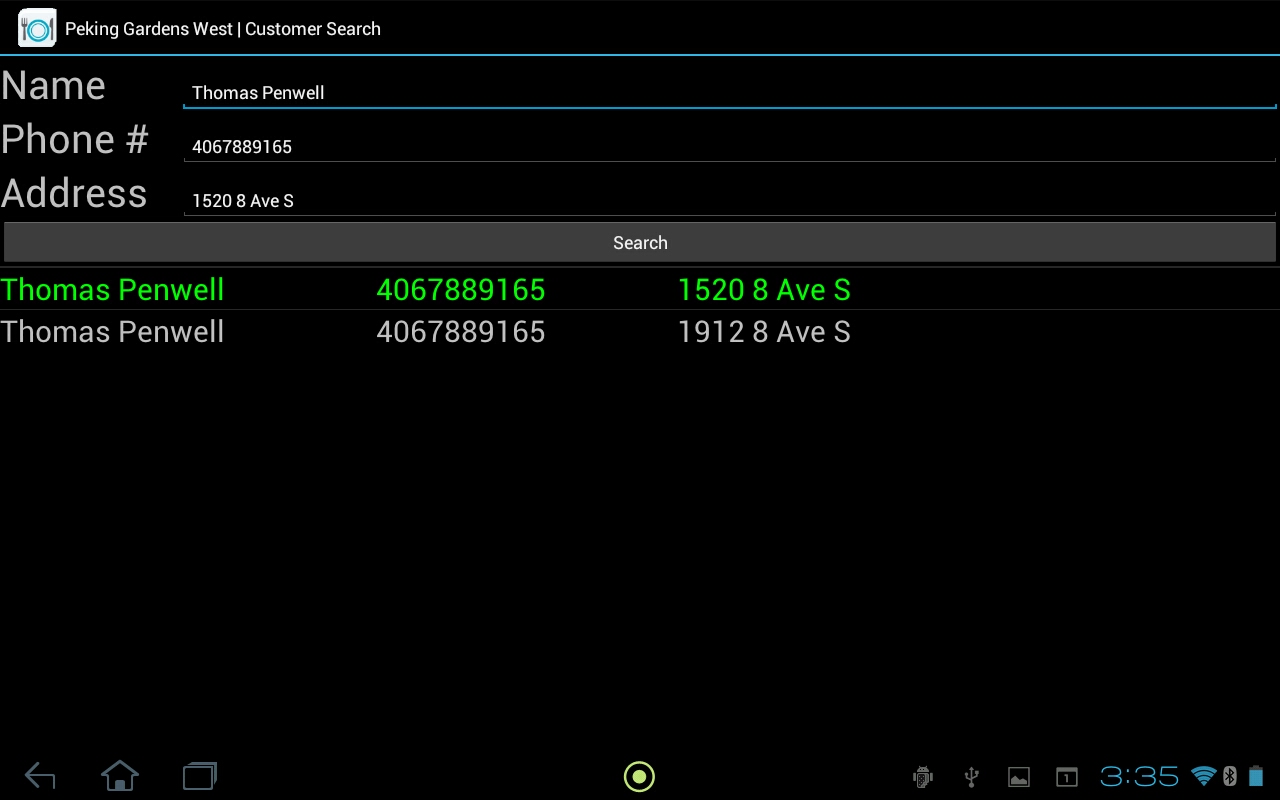
Customer Search Page (*Experimental)Clicking on a Green line will create a new entry in the customer database!
Customer Viewer Page (*Experimental)See Last 20 orders, Mark as Do Not Serve or mark as No Checks.
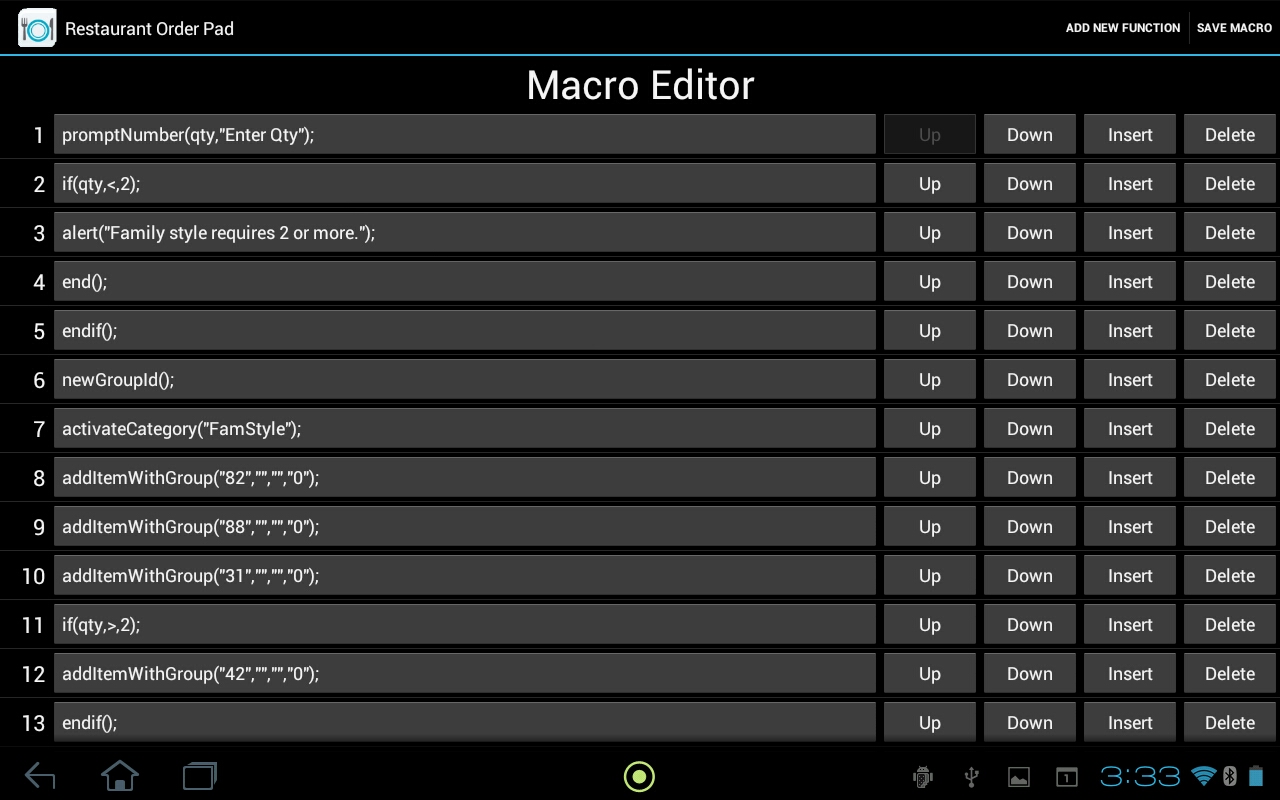
Macro Editor (*Experimental)This specific macro will add the individual menu items associated with a family style dinner.
Macro Function Editor (*Experimental)Click on a argument button up top will display a dialog specific to the type of data that argument is asking for.
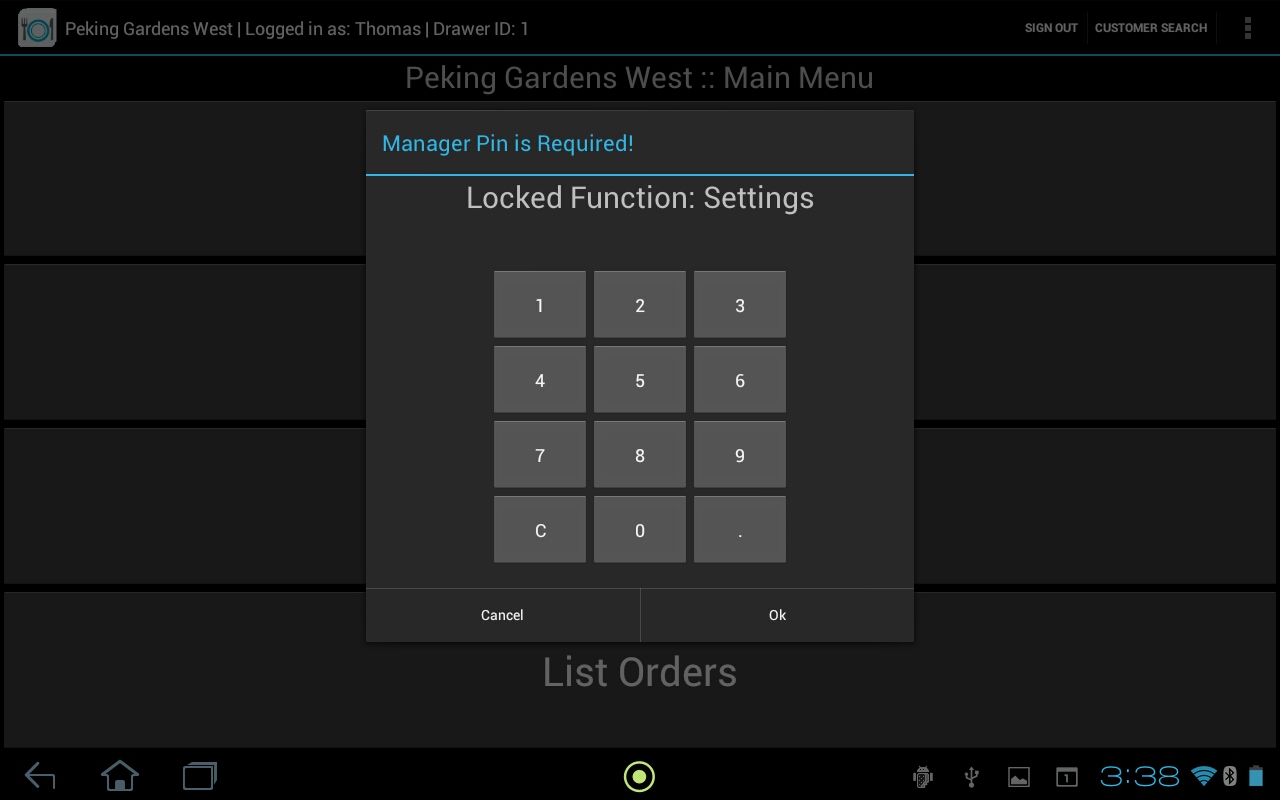
Main Menu, Manager Pin DialogThe Manager Pin Dialog will appear only if a pin is set.
Settings, General Page
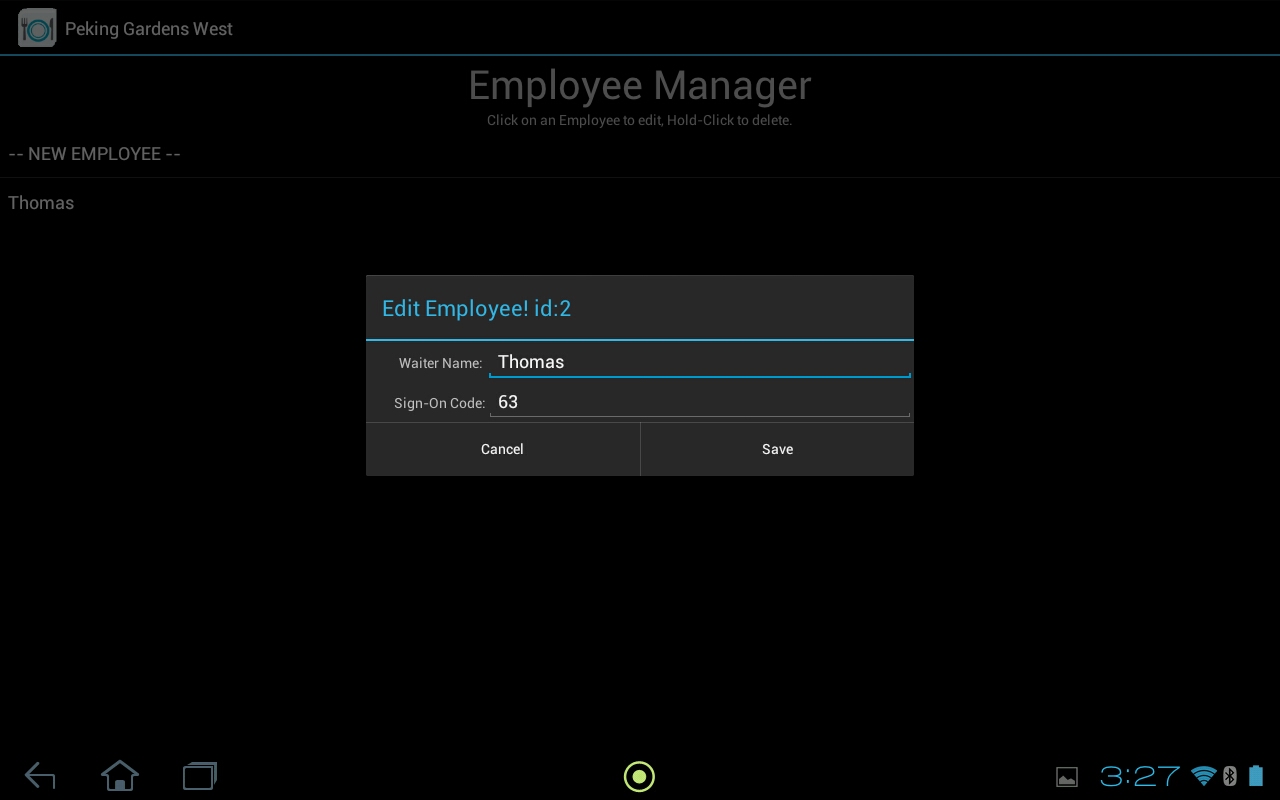
Employee ManagerSet Sign-on Codes for your employees
Published by: Thomas Penwell
Initially published on: June 1, 2014
Article last modified on: Sunday, April 5, 2015.